
HOW TO MANAGE A HIGH-END INSTALLATION
When exploring the world of high-end wallcoverings, the possibilities become seemingly endless. Whether you choose a grasscloth, horsehair, paper-backed fabric, vinyl, leather or hand-printed traditional paper, if you invest in a special finish, it’s vital to ensure the installation process is well managed to ensure the quality is achieved; and is achieved on time!
Whether this is your first or umpteenth wallpapering project of this nature, the following five steps will help ensure your installation goes ahead without a hitch.
Step 1: Choose the right wallcovering for your requirements (and keep your sample)
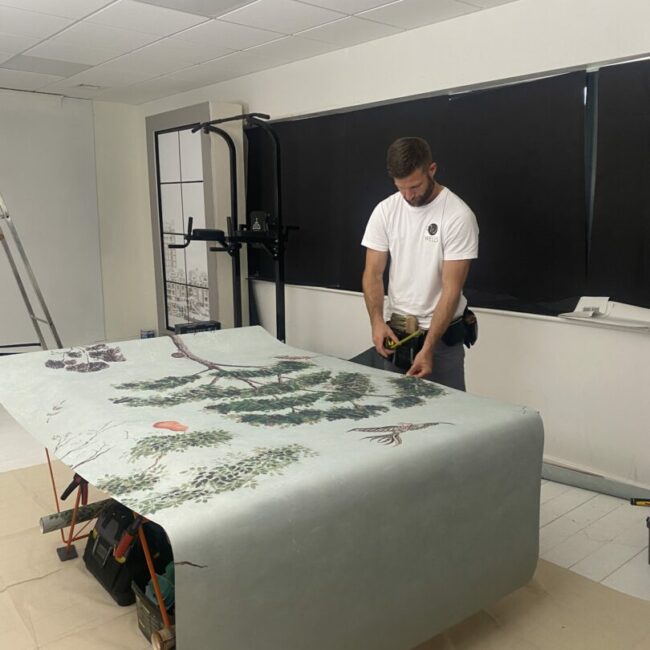
It may seem obvious, but the first stage of a successful installation is selection of a wallcovering suitable for the task. It’s important to understand the nuances and features of your chosen wallcovering before you make your purchase. Check that it’s fit for the location and use of the room it will feature in by requesting a sample. If you’re considering a hand-made product, ensure that you are happy with the natural variations that creates the unique beauty of each piece. Being diligent at this stage ensures that the wallcovering chosen will stay looking great for years to come.
Tips:
• Fix the sample to various areas of your wall to view from different angles and in the correct lighting.
• Keep hold of your sample for future reference.
Step 2: Choose your installer (asap)
It’s worth reiterating that in the world of high-end wallcoverings, the possibilities are endless, and as such, every product is different. They’re made and installed quite uniquely. The first criteria for your installer should be experience with a range of high-end wallcoverings (ideally including the one you’ve chosen), which leads to an ability to intuitively adapt the installation technique when required. If in doubt of an installer’s experience, always ask for references or speak to a previous client before engaging them.
If you find a good installer early-on, they’ll save you a lot of time and trouble by advising you through the whole installation process.
Tips:
• Ask your installer to measure and let you know what quantity to order.
• Request a fixed price quote so you know what the final installation cost will be.
• Call on their wider expertise if required on questions such as preparing the walls and how to space a pattern around the room.
Step 3: Set reminders
Step 3 is rather simple, make note of key dates. On longer projects, diarise progress checks at key intervals. If you choose a custom wallpaper there can be up to 12 weeks between placing an order and delivery, and you need to ensure that key milestones are being met while the wallpaper is being made.
Tips:
Keep note of:
• Expected delivery dates for your wallcoverings.
• Balance payment dates for custom-made wallcoverings.
• Cancellation dates for your installer.
• Installation start/expected finish dates.
• Wallpaper delivery check-up date (it’s good practice to set this as a week before the installers cancellation policy starts to avoid fees for late changes).
• Key progress dates with regards to wall preparations as determined with your site manager, see below (most relevant on larger projects).
Step 4: Communicate requirements clearly and in good time
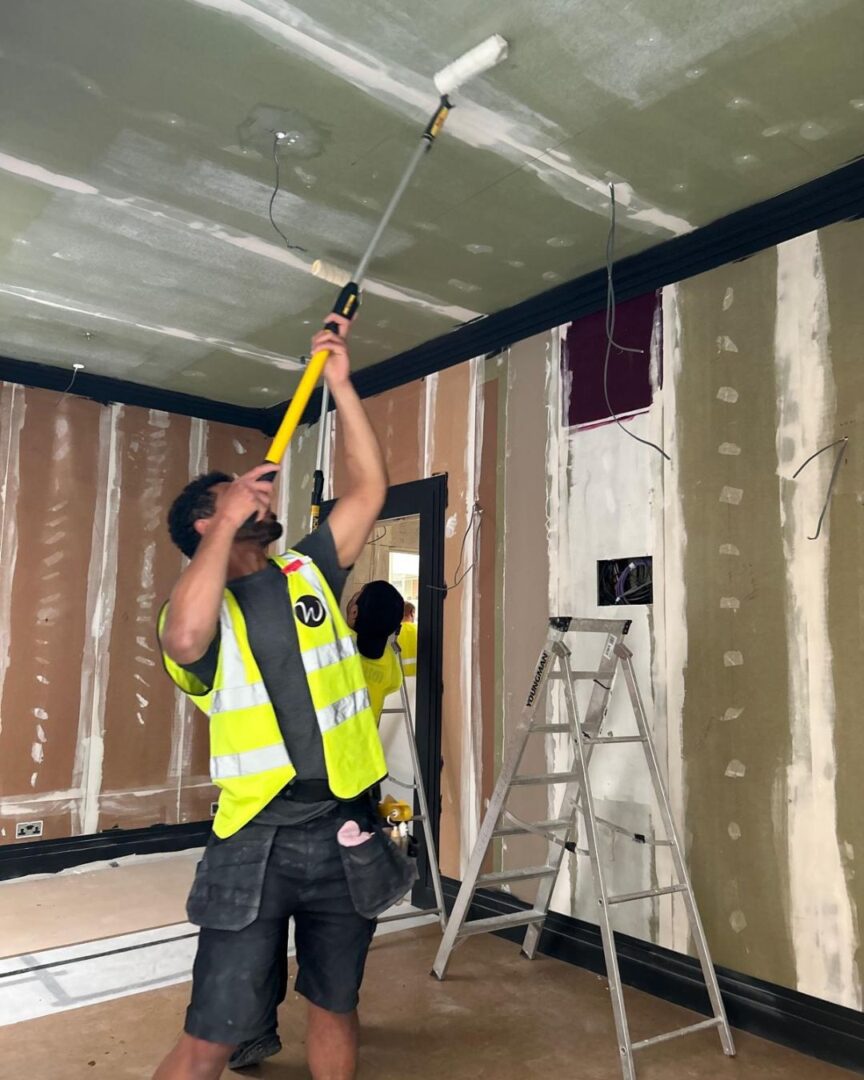
High-end wallcoverings are in many ways more akin to soft furnishings than the wallpapers you find on the mass-market. They tend to be delicate and therefore easily stained and damaged if mistreated. One of the most important preparation tasks is ensuring that the walls are of a suitable quality to be wallpapered, another is that any workmen helping you with your renovations understand the conditions required by an installer to get the best quality finish. If you’ve achieved Step 2 and have engaged your wallpaper hanger, they can help you understand what is required; and then all that remains is to ensure those requirements are communicated to the right people, at the right time, in order to bring about the desired results in time for the installation start date.
Tips:
• Ask your installer for detailed instructions on how to prepare your walls.
• If you have any concerns about communicating requirements to other trades, ask your installer to speak with them directly on your behalf.
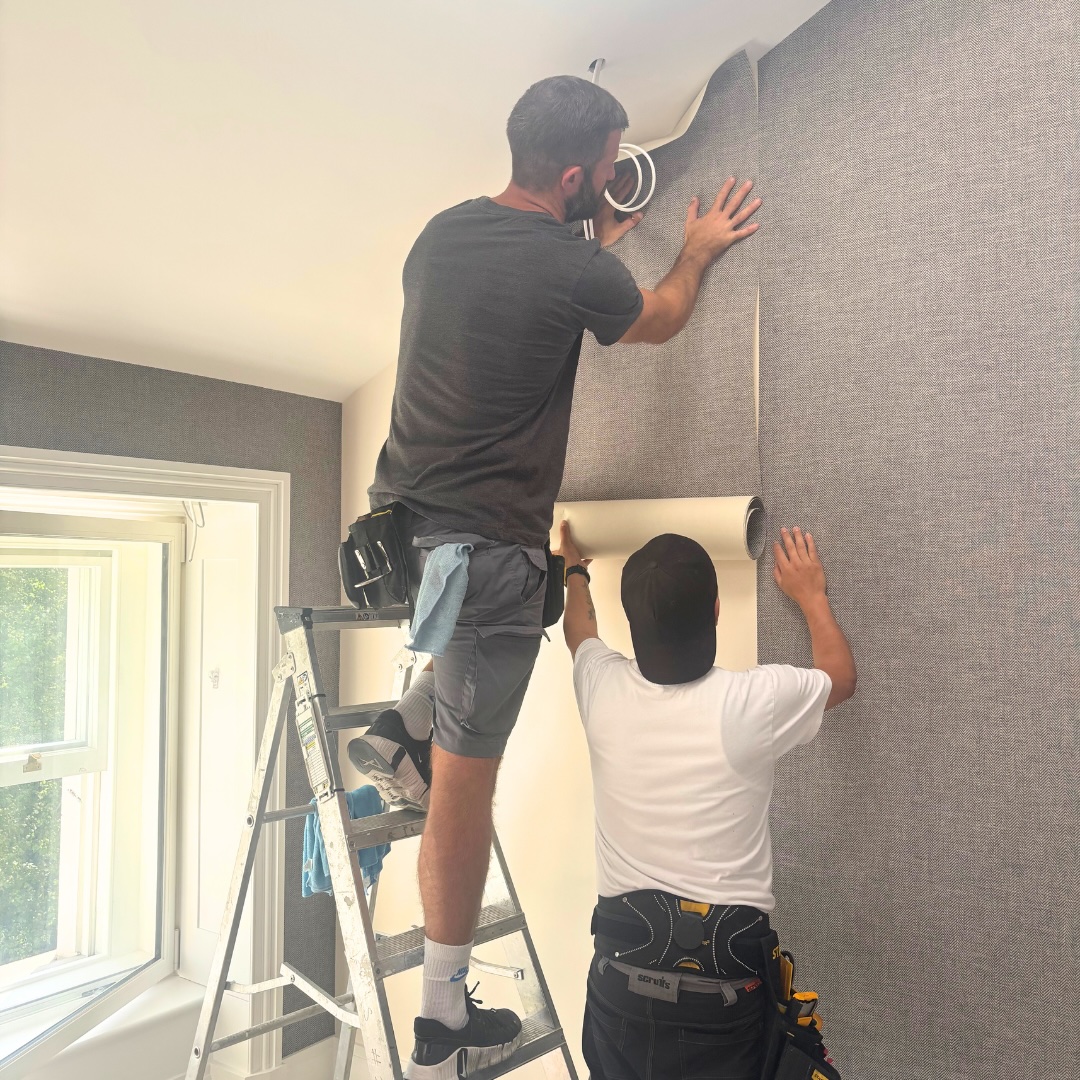
Step 5: Be on site for the beginning and end of the installation
Due to the nature of dye and print methods you ideally want to use products from the same batch in the same room, and most brands have strict returns criteria. So, if you’re wallpapering a larger room, it’s best to be on site as the first few pieces are installed to make sure you’re 100% happy with the look, the colour, panelling effect, and the quality of the installer, while you have freedom to fix any issues.
In the case of custom-made or customised wallcoverings there is a no-returns policy except in the unlikely case of defect. Brands will often only consider a re-make request if any issues are brought to their attention after no more than 3 drops have been put up. Being present for the first 3 drops and having your original sample to hand is therefore a prudent step if you’ve chosen a custom or made-to-order creation.
It’s also ideal to be present at the end of the installation, as you’re then perfectly placed to bring up any minor snags with the installer who can fix them for you then and there, saving any future inconvenience.
Tips:
• Make sure you understand the returns policy before you purchase (if returns are accepted at all).
• Book out time on the anticipated start and finish dates in advance (albeit with knowledge that finish dates are usually a guideline only) or arrange a trusted representative to be there in your place.